Maintaining your electric trimmer can be a hassle, especially when you notice it’s not performing as well as it used to. Dirt, hair, and oil build-up can hinder its efficiency and even shorten its lifespan. It’s crucial to keep your trimmer clean to ensure it works properly and lasts longer.
Cleaning your electric trimmer doesn’t have to be complicated. With a few simple steps and the right tools, you can keep it in top condition. Regular cleaning not only enhances its performance but also ensures hygiene and safety.
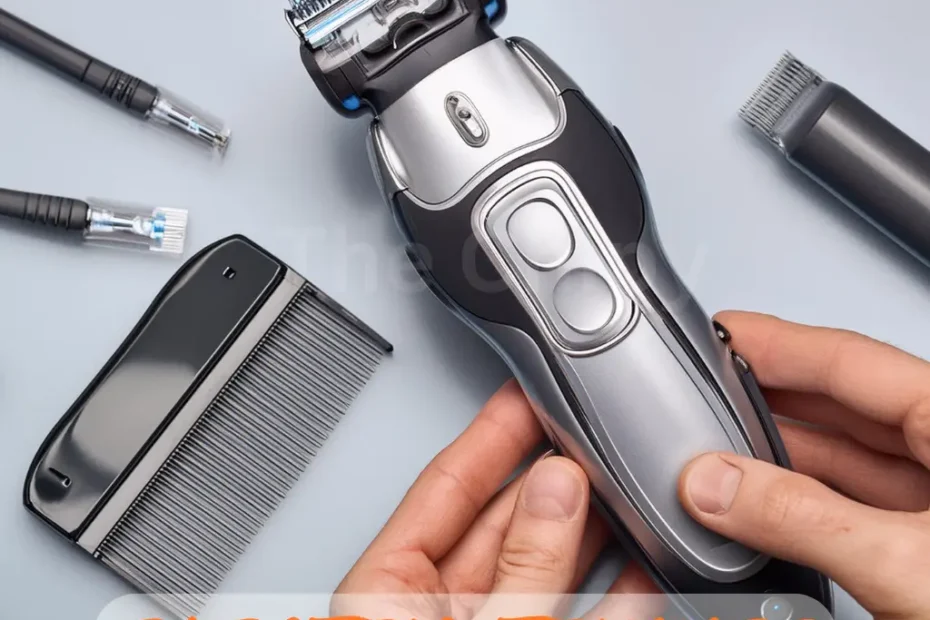
Curious about the best way to clean your electric trimmer? Follow our detailed guide below for easy, step-by-step instructions to maintain your grooming tool like a pro.
Why Cleaning Your Electric Trimmer is Important?
Regular cleaning of your electric trimmer is essential for several reasons. It helps maintain the trimmer’s performance by preventing the build-up of hair and debris that can affect its efficiency. A clean trimmer also ensures better hygiene, reducing the risk of skin irritation or infections.
Neglecting to clean your trimmer can lead to decreased performance and even damage to the trimmer’s components. Hair and dirt build-up can cause the blades to become dull and the motor to work harder, leading to a shorter lifespan and potential issues during use.
Tools You’ll Need:
To clean your electric trimmer effectively, you’ll need a few essential tools. A small brush, often included with the trimmer, is perfect for removing hair from the blades. Rubbing alcohol or a specialized blade cleaner is used to sanitize the blades and prevent bacteria build-up.
Additionally, a damp cloth is useful for wiping down the trimmer’s exterior. Ensure you have a clean, flat surface to work on, and a towel or paper to catch any debris during the cleaning process.
Step-by-Step Guide to Clean Your Electric Trimmer
Preparing Your Trimmer:
Before you start cleaning, make sure your trimmer is unplugged to avoid any electrical hazards. Carefully disassemble the trimmer, removing any detachable parts such as blades, guards, and combs. This step ensures you can clean each component thoroughly.
Set up a clean, flat surface to work on. Lay down a towel or paper to catch any hair and debris. Gather all your cleaning tools and materials so everything is within reach. This organized setup makes the cleaning process smoother and more efficient.
Cleaning the Blades:
Use a small brush to remove any hair and debris from the blades. For stubborn hair stuck in the crevices, consider using a toothpick or a similar tool to gently dislodge it. Ensure all visible hair and debris are cleared away.
After removing the hair, it’s time to sanitize the blades. Use a blade cleaning solution or rubbing alcohol on a soft cloth or cotton swab to wipe down the blades. This step eliminates bacteria and prevents infections, ensuring your trimmer is hygienic and safe to use.
Cleaning the Body:
Using a damp cloth, wipe down the exterior of the trimmer to remove any dust, dirt, or hair. Avoid using too much water, as excess moisture can damage the trimmer’s internal components. Ensure all external surfaces are clean and dry before reassembling.
For areas that are difficult to clean with a cloth, such as vents or grooves, use a small brush or compressed air to remove dust and debris. This step ensures that no part of the trimmer is overlooked, maintaining its overall cleanliness and performance.
Reassembling and Maintenance Tips:
Proper Reassembly:
Once all parts are clean and dry, carefully reassemble the trimmer. Follow the manufacturer’s instructions to ensure each component is correctly placed. Proper reassembly is crucial to the trimmer’s functionality and longevity.
Oiling and Lubrication:
Apply a few drops of trimmer oil to the blades to keep them lubricated and prevent rust. This step ensures smooth operation and prolongs the life of the blades. Run the trimmer for a few seconds to distribute the oil evenly.
Storage Tips:
Store your trimmer in a cool, dry place to prevent moisture damage. Use the protective cap or case if provided. Regularly check and clean your trimmer to maintain its performance. Proper storage and maintenance significantly enhance the lifespan of your grooming tool.

By following these detailed steps, you can keep your electric trimmer in top-notch condition, ensuring optimal performance and hygiene. Regular cleaning and maintenance not only extend the life of your trimmer but also ensure a better grooming experience.
Frequently Asked Questions
How do you clean an electric trimmer after use?
Unplug, disassemble, brush off hair, sanitize blades with rubbing alcohol, and wipe down the body. Reassemble and store in a dry place.
How to clean an electric hair trimmer?
Unplug, remove attachments, brush off hair, sanitize blades with a cleaning solution, and wipe down the body. Reassemble and store properly.
How do you clean electric trimmer heads?
Remove the trimmer heads, brush off hair, clean with alcohol or blade cleaner, and dry thoroughly before reattaching.
How to clean your electric shaver?
Disassemble, brush off hair, rinse under warm water, use shaver cleaner, dry all parts, and reassemble for storage.
Conclusion:
Regularly cleaning your electric trimmer is essential for maintaining its performance, hygiene, and durability. Regular cleaning helps remove hair and dirt that can make your trimmer less effective. To clean it, unplug the trimmer, take it apart, brush off any hair, and wipe down the blades with rubbing alcohol. Make sure the body is wiped clean as well. After cleaning, put the trimmer back together and add a bit of oil to the blades. Store it in a dry place to keep it in good shape. By making these simple cleaning steps a regular part of your routine, you’ll keep your trimmer working smoothly and extend its life. This not only helps with performance but also keeps everything hygienic. Regular maintenance ensures a better grooming experience every time you use your trimmer.