I know how frustrating it can be when your trusted Remington trimmer suddenly stops working. You’re ready to tackle your grooming routine, but instead, you’re left with a tool that won’t cooperate. Whether it’s a trimmer that won’t turn on, isn’t holding a charge, or pulls instead of cuts, these issues can throw you off your game.
But don’t worry, most of these problems can be solved with a few simple steps. I’ll share easy-to-follow solutions to get your trimmer back in action. With the right approach, you’ll have your Remington trimmer working like new in no time.
Why Is My Remington Trimmer Not Working?
If your Remington trimmer isn’t working, it’s likely due to one of a few common issues. Battery problems are often at the top of the list—maybe the trimmer isn’t charging properly, or the battery has simply worn out over time. Motor issues can also be a culprit; a malfunctioning motor might prevent the trimmer from running smoothly or at all. Internal damage, such as loose wiring or faulty components, can also lead to a trimmer that refuses to turn on or function as it should. Understanding these potential problems is the first step to getting your trimmer back in working order.
How to Identify and Fix Common Trimmer Problems:
Trimmer Not Turning On
When your trimmer won’t turn on, the issue could be as simple as a dead battery or as complex as a faulty switch. Start by checking if the battery is charged—if not, try charging it fully. If the trimmer still won’t power up, the battery might need replacing. Another potential issue could be the power switch; over time, these can wear out or become disconnected internally. To troubleshoot, you may need to open the trimmer and inspect the connections to the switch. If the switch is faulty, replacing it could restore your trimmer’s functionality.
Trimmer Pulling Hair Instead of Cutting
A trimmer that pulls hair instead of cutting it is not only frustrating but also uncomfortable. This issue is usually caused by dull blades or improper usage. Dull blades can’t slice through hair cleanly, which leads to pulling. To fix this, you can either sharpen the blades or replace them with new ones. Additionally, make sure you’re using the trimmer correctly, pressing too hard or moving too quickly can also cause the trimmer to pull rather than cut. By addressing these factors, you can ensure a smooth and pain-free trimming experience.
Trimmer Not Holding a Charge
If your Remington trimmer isn’t holding a charge, it might be due to an aging battery or issues with the charging system. Over time, rechargeable batteries lose their ability to hold a full charge, which means your trimmer might die quicker than usual. If this is the case, replacing the battery can give your trimmer new life. Sometimes, the problem could be with the charging cable or the charging port itself, make sure everything is properly connected and that the charging light is on. If you suspect a faulty charger, try using a different one to see if that resolves the issue. By identifying the cause, you can fix the problem and extend the life of your trimmer.
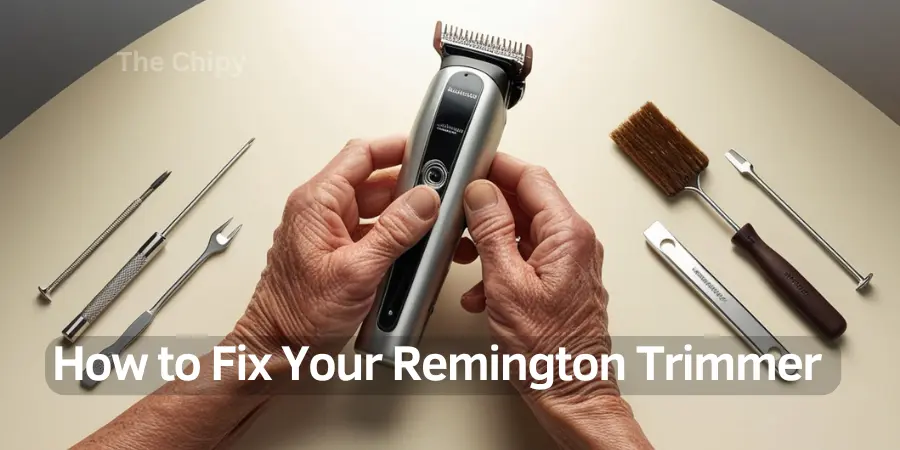
Guide to Fixing Your Remington Trimmer
Preparing Your Tools and Workspace
Before diving into any repairs, it’s essential to gather the right tools and set up a safe, organized workspace. For most basic trimmer repairs, you’ll need a small Phillips head screwdriver, a flathead screwdriver, needle nose pliers, a multimeter for checking electrical components, and a clean cloth for handling small parts. If you’re replacing a battery or blades, ensure you have the correct replacement parts on hand.
Set up your workspace in a well-lit area with a flat, stable surface. It’s helpful to use a tray or a small container to keep screws and small parts from getting lost. Lay down a clean cloth to protect your trimmer from scratches, and make sure your tools are within easy reach. Having everything prepared will make the repair process smoother and help you avoid misplacing any critical components.
How to Open and Inspect the Trimmer:

Disassembling the Trimmer Safely:
- Unplug the Trimmer: If cordless, remove the battery.
- Locate Screws: Find the screws on the back or sides of the trimmer.
- Remove Screws: Use a Phillips head screwdriver to take out the screws and keep them safe.
- Pry Open the Casing: Gently use a flathead screwdriver to separate the casing, avoiding any force that might damage it.
- Access Internal Components: Once open, you can see the motor, battery, and wiring.
Inspecting Internal Components for Damage:
- Check the Battery: Look for signs of corrosion or leakage that may require replacement.
- Examine the Motor: Remove any hair or debris clogging the motor using needle-nose pliers or a clean cloth.
- Inspect the Wiring: Look for loose connections or frayed wires that could be causing malfunctions.
- Note Any Damage: Identify and list any parts that need replacement or repair.
Fixing Common Internal Issues
Replacing a Dead Battery:
- Disconnect the Old Battery: Unplug it from the connector carefully.
- Note Position and Orientation: Observe how the old battery is positioned and oriented.
- Install the New Battery: Align the connectors and snap the new battery into place.
- Secure the Battery: Ensure it’s firmly secured in its compartment.
- Test the Trimmer: Before reassembling, test to ensure the trimmer functions properly.
Fixing Motor Issues:
- Clean the Motor: Remove any hair or debris using a soft brush or compressed air.
- Test the Motor: If it still doesn’t work after cleaning, consider replacement.
- Remove the Old Motor: Disconnect the wiring and carefully remove the motor.
- Install the New Motor: Reconnect the wiring and secure the motor in the housing.
- Ensure Tight Connections: Make sure all connections are secure before reassembly.
Reassembling the Trimmer:
- Align the Casing: Position the two halves of the casing and press them together gently.
- Replace Screws: Reinsert the screws, tightening them securely but not too tight.
- Test the Trimmer: Run a quick test to ensure everything works as expected.
- Ready for Use: If the test is successful, your trimmer is ready to go!
Maintenance Tips for Your Remington Trimmer

How to Properly Clean Your Trimmer:
Regular cleaning is essential to maintain your Remington trimmer. Unplug or remove the battery before cleaning. Use a small brush to clean hair and debris from the blades. If the blades are removable, rinse them under warm water and let them air dry before reattaching. For the motor, wipe with a dry cloth. Avoid water or harsh cleaners on the motor to prevent damage.
Lubricating the Blades for Optimal Performance:
Lubricating the blades ensures smooth operation and reduces wear. Apply a few drops of trimmer oil to the moving parts, run the trimmer briefly, then wipe off excess oil. Regular lubrication after a few uses will keep your trimmer cutting efficiently and prevent dulling or rusting.
Storing Your Trimmer Correctly:
Store your trimmer in a dry place to avoid moisture damage. Keep it in a protective case or cover to prevent dust and damage. For corded models, gently coil the cord without wrapping it tightly around the trimmer. Proper storage will prolong your trimmer’s life.
FAQs.
How Do You Fix a Trimmer That Stopped Working?
To fix a trimmer that stopped working, check the battery, inspect internal components for damage, and ensure all connections are secure. Follow the troubleshooting steps provided to address common issues.
How Do You Take Care of Remington Hair Clippers?
Regularly clean your Remington hair clippers, lubricate the blades, and store them in a dry, safe place. Proper maintenance helps ensure optimal performance and extends the lifespan of your clippers.
Why Is My Remington Electric Shaver Not Working?
Your Remington electric shaver might not be working due to battery issues, motor faults, or internal damage. Check the battery charge, inspect internal components, and follow troubleshooting tips for a solution.
Can a Trimmer Be Repaired?
Yes, most trimmers can be repaired. Common issues like battery problems, motor faults, or blade wear can often be fixed with the right tools and replacement parts. Refer to our repair guide.
Why Is My Remington Beard Trimmer Not Holding a Charge?
A Remington beard trimmer may not hold a charge due to an old battery or charging issues. Try replacing the battery or checking the charging connections to resolve the problem.
Conclusion:
In this guide, we covered how to troubleshoot and fix common issues with your Remington trimmer, including cleaning, lubricating, and storing tips. Regular maintenance and timely repairs are essential for keeping your trimmer in excellent condition and ensuring it performs well over time. By following the steps provided, you can address common problems and extend the lifespan of your trimmer. Keep these tips in mind to maintain a reliable grooming tool and enjoy hassle-free use for years to come.